Can You Use A Tire Inflator As An Air Compressor
883Yes For Specific Tasks, But No For Tools. Learn Why Psi Vs. Cfm Matters And See The Full Yes/No List For Tire Inflators.
View detailsSearch the whole station
To use the car inflator correctly on the side of the road, you must first park the car in a safe place, and then start the engine, so as not to drain the battery. Then look at the sticker on the driver’s side door frame to find the recommended tire pressure value (PSI). Plug the power cord of the air pump into the 12V cigarette lighter socket in the car. Unscrew the dust cap of the tire valve and screw the inflation tube connection firmly. If you are using a digital display inflator and preset the tire pressure value, it has an automatic start-stop function; if it is an old-fashioned pointer meter, you have to stare at the pointer. Turn on the power switch. Once the tire reaches the target pressure, immediately shut down, unscrew the connector, and finally screw the valve cap back.
Before operating the equipment, safety is always the first. Make sure your car is parked on a flat, solid road and try to stay away from the busy traffic. Tighten the handbrake to prevent any slippage of the car during operation. Be sure to start the vehicle engine before plugging in the device. If you only rely on the battery for power supply to pump up the air, it is easy to squeeze the battery dry, causing you to turn back and catch fire. Keeping the engine running at idle speed can ensure continuous and stable power supply and avoid letting you fall into the embarrassing situation of battery power loss.
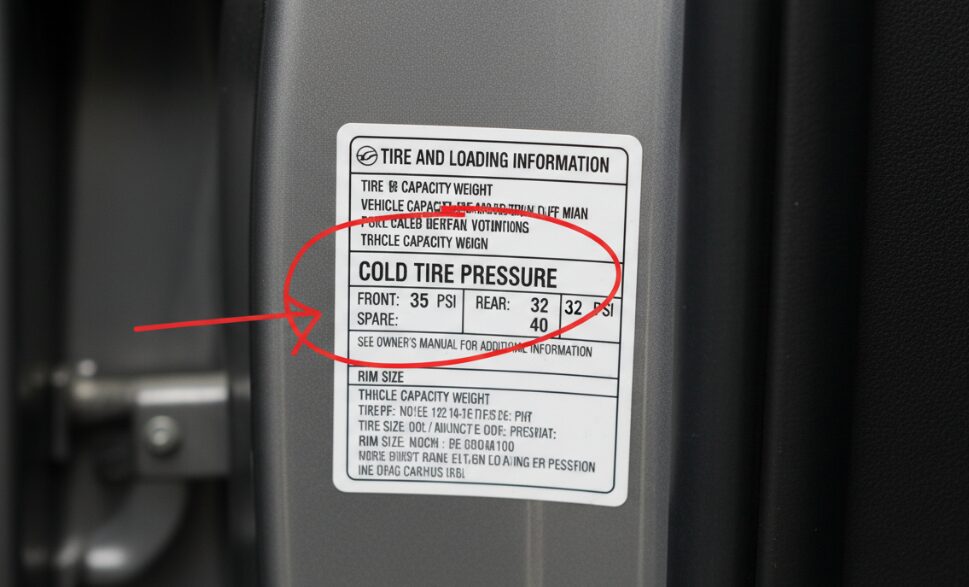
Don’t guess tire pressure by feeling. Go to the door frame on the driver’s side to find the manufacturer’s sticker (tire nameplate) with the recommended PSI (pounds per square inch) value clearly written on it. Never refer to the “Max PSI” value printed on the tire sidewall. That number represents the ultimate pressure that the tire can withstand, not the best pressure for your car. In addition, note that the recommended values for the front and rear wheels of some cars are different, regardless of the string.
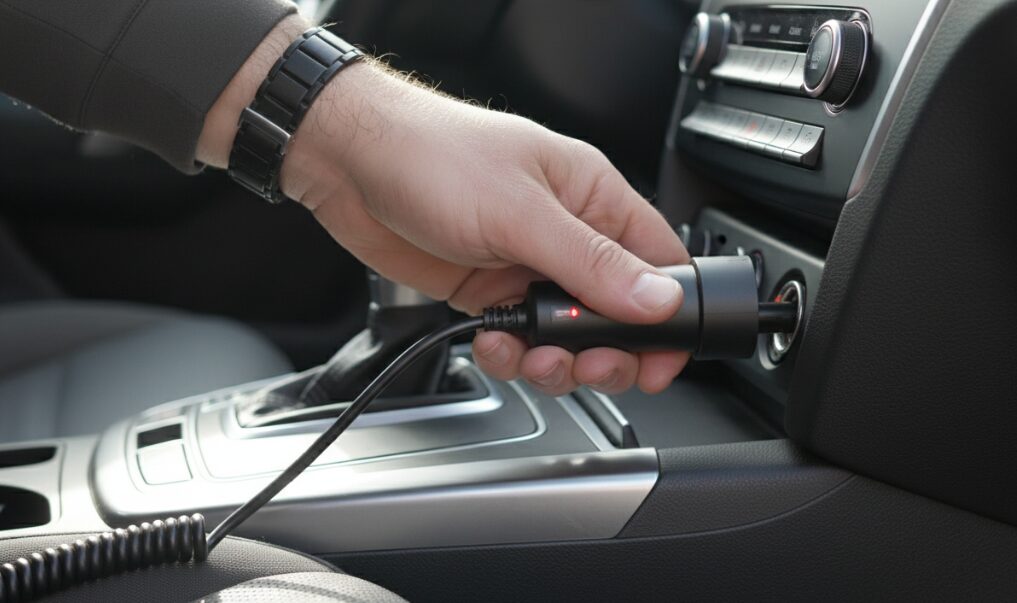
Take out your car inflator and straighten out the power cord. Insert the 12V plug firmly into the cigarette lighter socket (auxiliary power interface) in the car. Be sure to make sure that the connection is tight; if the interface is loose, the air pump will work intermittently, or even directly power off. If your air pump power cord is relatively short, one trick is to lower the window and let the cord go out through the window, so it will be much easier to reach four tires.
Walk over to the tire you need to inflate. Unscrew the plastic dust cap on the valve and put it in a safe place (such as in your pocket). Believe me, it is easy to lose it when you put it on the ground. Pick up the air pipe connector of the air pump and tighten it or buckle it on the valve. At this time, you may hear a short “hissing” air leak. Don’t panic, this is normal. Continue to tighten the joint until the sound of air leakage disappears completely, which indicates that the seal is complete.
The operation of this step depends on the type of air pump in your hand: For digital display inflator: This model usually has an automatic start-stop function. Use the “+” or “-” button on the screen to set the target PSI to the value you see on the door frame sticker. Once this pressure is reached, the device will automatically stop. For pointer dials: This type of device relies on traditional dials. You need to keep an eye on the pointer. Before starting up, take a look at the current barometric pressure reading.
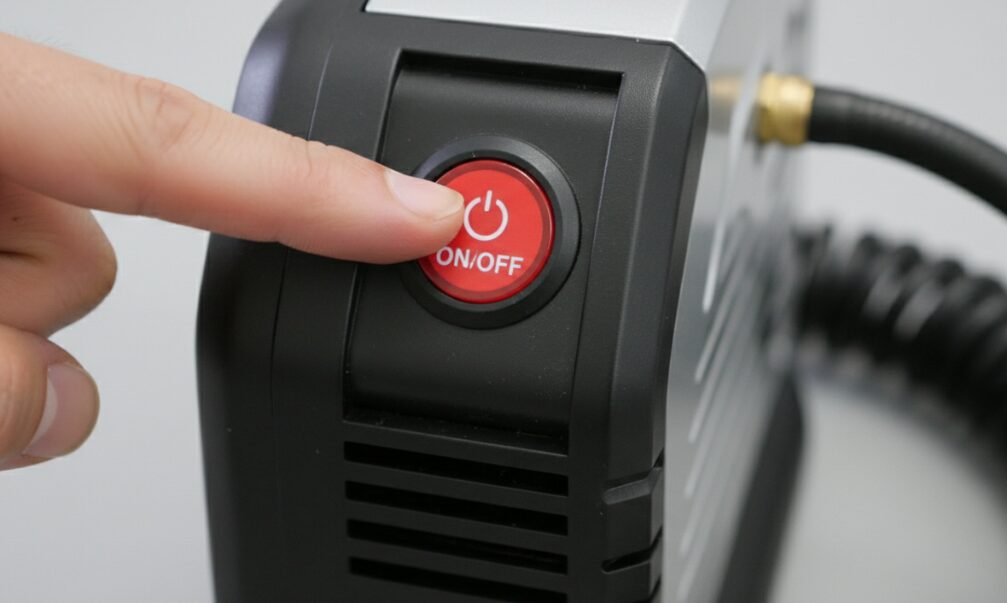
Find the power switch on the fuselage and turn it to the “ON” position. When the compressor starts to work, the movement and vibration are usually not small. Digital version: let it run on its own until it stops automatically. Pointer version: Keep your eyes on the dial. It is usually recommended to make a little more 1-2 PSI, because there will always be a little gas when pulling out the pipe. Or, you can turn off the machine for a while and see the reading in a static state, because the pointer sometimes jumps when the motor is running, and the shutdown is the most accurate.
Once the target pressure is reached and the machine is turned off (or the machine stops by itself), immediately unscrew or unscrew the air pipe connector from the valve. Move quickly and minimize the air running out of the tires. Finally, take out the dust cap you stuffed into your pocket and screw it back on the valve. Repeat this process for the remaining 3 tires to keep the four-wheel air pressure balanced, which is good for the vehicle’s handling and fuel economy.
Author: David Miller
“Hi, I’m a certified automotive technician with over 10 years of experience in vehicle maintenance. I specialize in practical car care to help drivers stay safe on the road. I wrote this guide to ensure you know exactly how to operate your auto air tire inflator correctly, from checking the door jamb sticker to handling the valve stem connection.”

Yes For Specific Tasks, But No For Tools. Learn Why Psi Vs. Cfm Matters And See The Full Yes/No List For Tire Inflators.
View details
Every car owner has faced this problem: crumbs, dust, and dirt scattered inside the car that just won’t go away with a brush or hand swipe. That’s why many people turn to car vacuum cleaners. But with so many brands on the market, which one is ac...
View details
Wondering how to charge car vacuum cleaner at home? You need a heavy-duty 10 Amp AC to DC converter to prevent power failure.
View details
For Routine Cleaning, 5,000-8,000 Pa Is The Sweet Spot. For Deep Pet Hair Removal, Aim For 12,000 Pa Or More.
View details